Getting started with Azure IoT Hub
Legal Disclaimer
This page was provided just to provide a convenience for users. Seeed is not responsible for any errors or omissions, or for the results obtained from the use of this information. All information in this page is provided “as is”, with no guarantee of completeness, accuracy, timeliness or of the results obtained from the use of this information.
For more information about “Azure IoT Hub”, please refer to Azure IoT Hub.
For pricing information about IoT Hub tiers refer to IoT Hub pricing.
Step 1 : Login to Azure Portal
If you don’t have an active Azure subscription, create a free account before you begin.
Step 2 : Create Azure IoT Hub
2.1 : Navigate to Azure Portal with browser
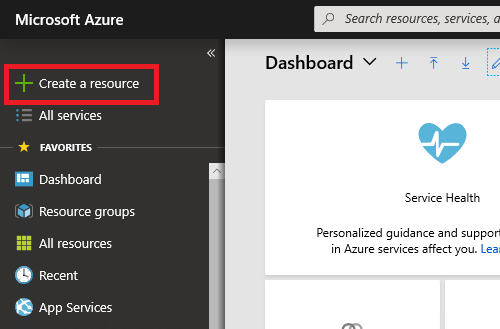
2.2 : Click Create a resource on top left corner
2.3 : Select Internet of Things, then IoT Hub

2.4 : Fill out following fields
| Field | Description |
|---|---|
| Subscription | Your subscription. Select from the list. |
| Resource Group | A resource group to manage all the resources. Select existing one from the list or create new group. |
| Region | Location of Azure Data Center. Select the one close to you. |
| IoT Hub Name | Provide a globally unique name for your IoT Hub. |
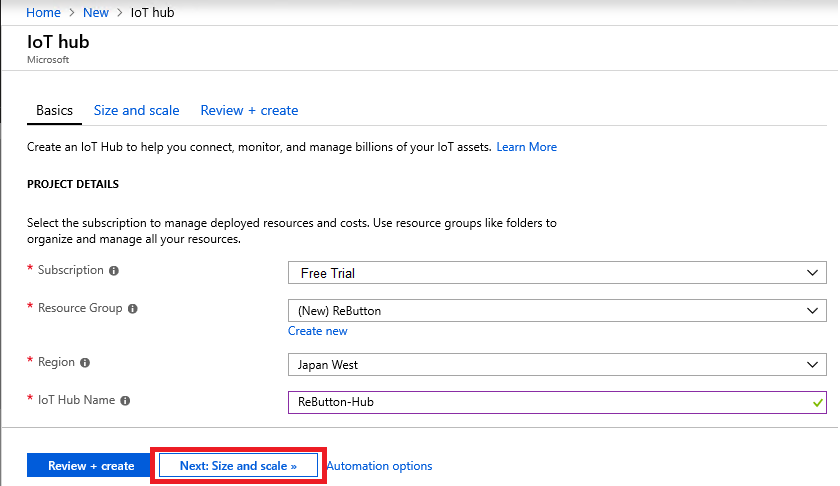
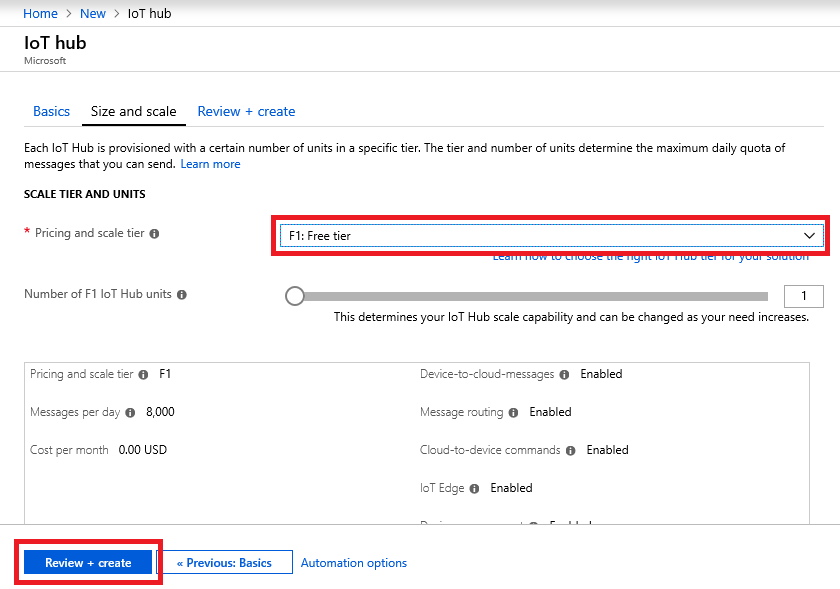
2.5 : Size and Scale
Click Size and scale, then select F1 : Free tier.
NOTE: Only one F1 Free tier is available per subscription. If you already have F1 IoT Hub, you may need non-free tier IoT Hub. More about IoT Hub tier.
2.6 : Click Review + create button
2.7 : Create Azure IoT Hub
Review your settings then, click Create button.
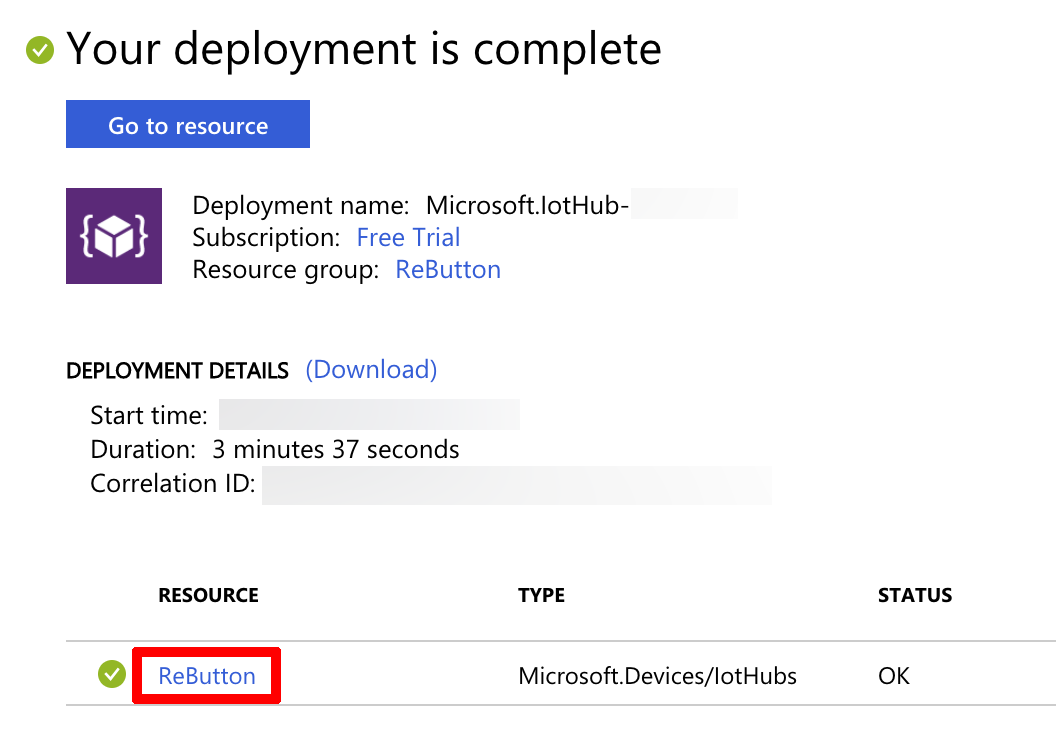
Wait until the deployment completes.
Step 3 : Create IoT Device
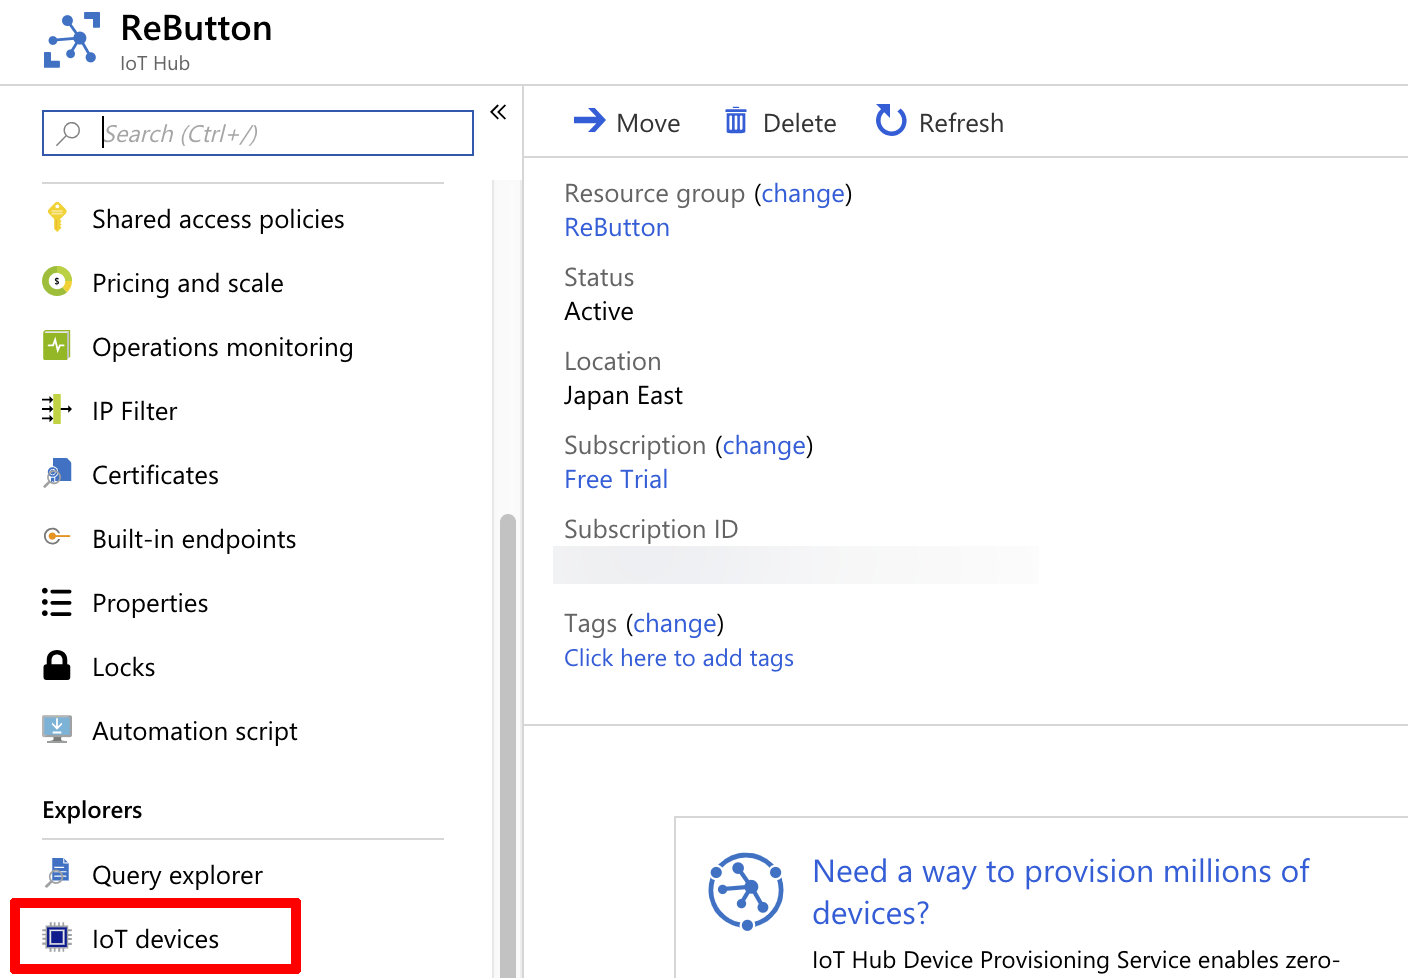
3.1 : Navigate to Azure IoT Hub instance
After your new Azure IoT Hub is deployed, click your Azure IoT Hub resource to navigate to Azure IoT Hub instance you just created.
3.2 : Create IoT Device
Click IoT Devices
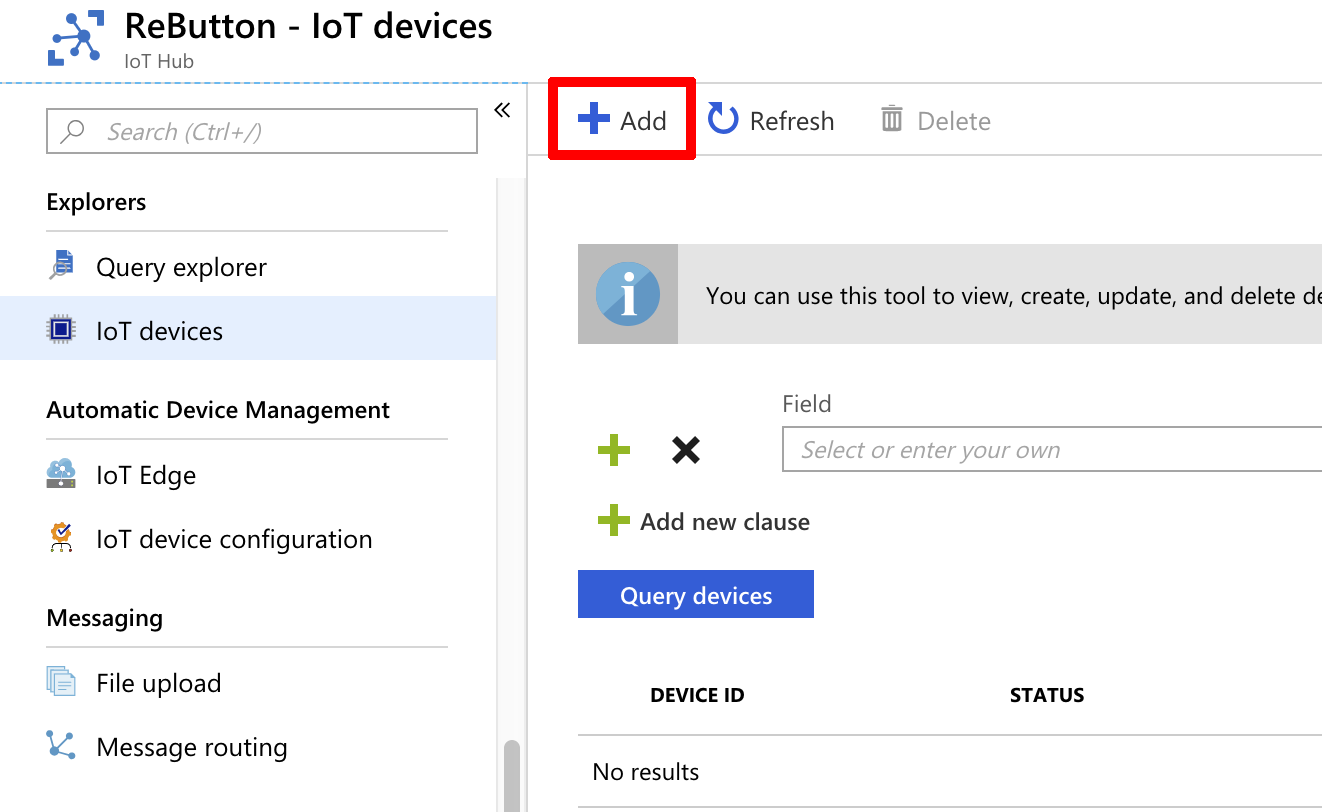
3.3 : Click Add button
To add a new IoT Device to your Azure IoT Hub
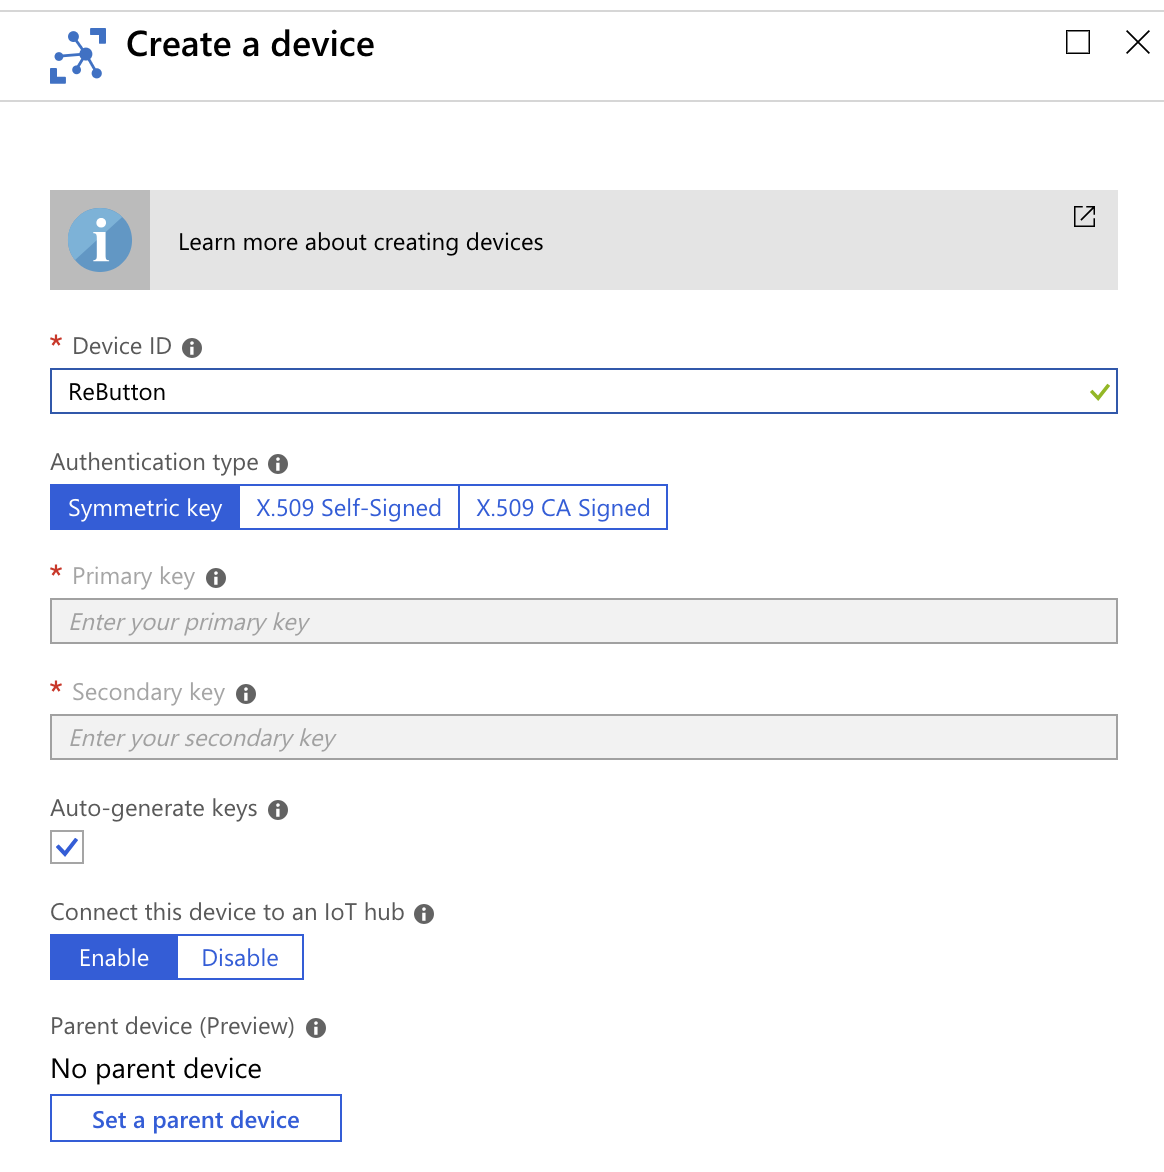
3.4 : Provide a name to new IoT Device
Set Device Id (Name) for your ReButton, then click Save button
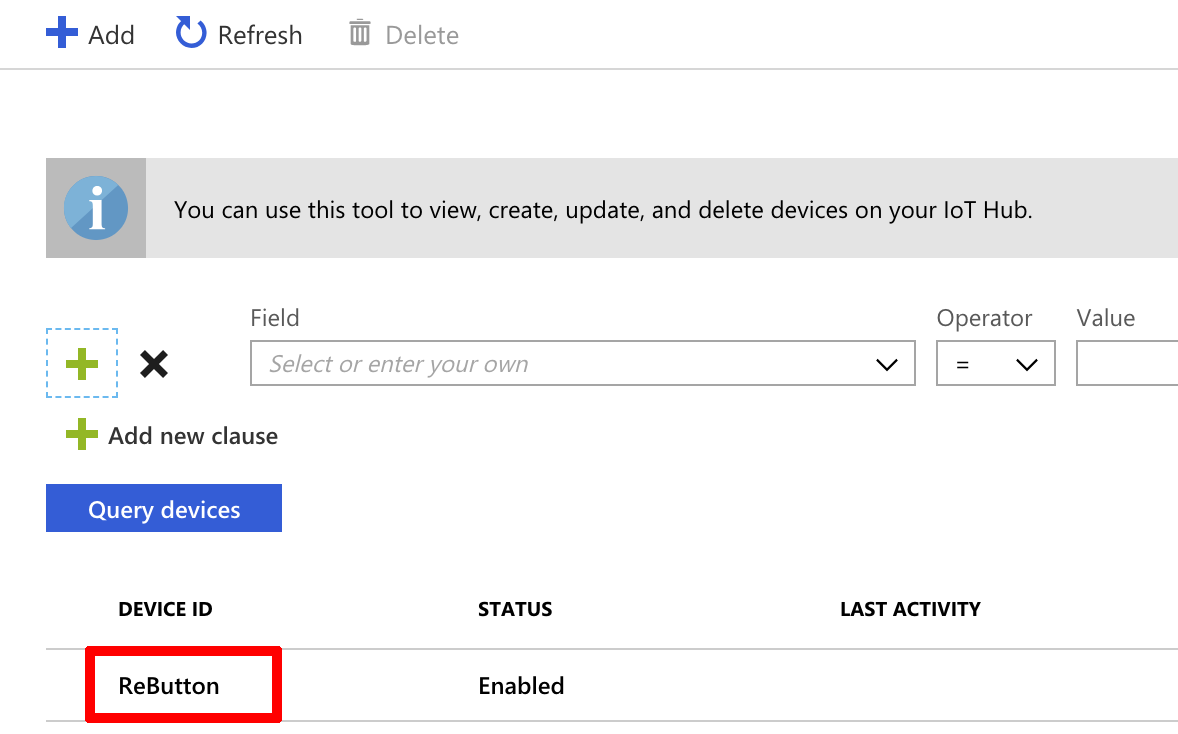
3.5 : Verify a new IoT Device for ReButton is created
Step 4 : Connect ReButton to Azure IoT Hub
In order for ReButton to securely connect to Azure IoT Hub, Connection String needs to be saved to ReButton.
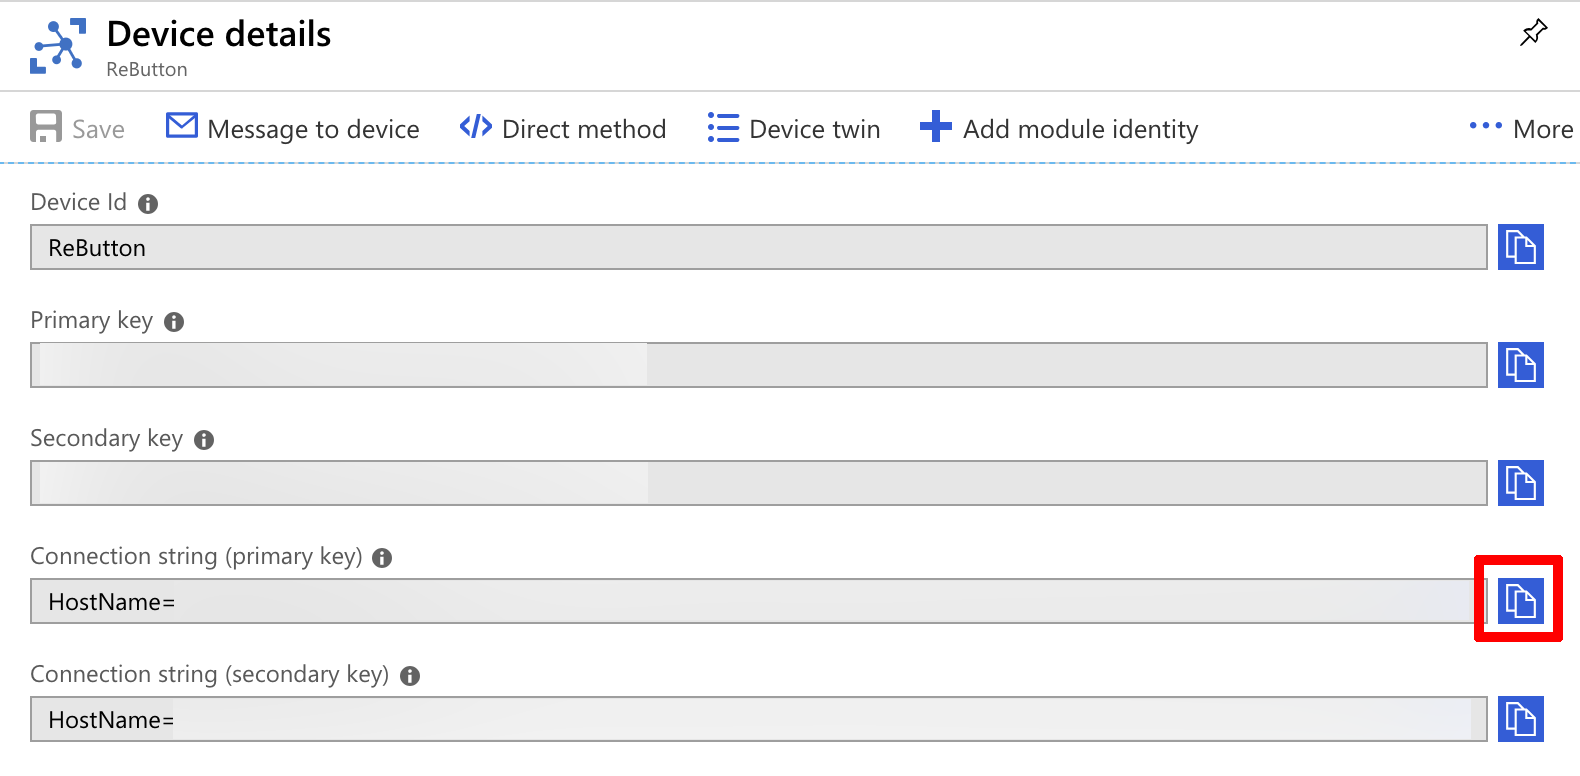
4.1 : Open Device Detail page
Click on the newly created IoT Device (e.g. ReButton) to open Device details page.
4.2 : Copy Connection String
Copy either Primary or Secondary Connection String by clicking button on the right
4.3 : Save Connection String to ReButton Device
Please refer to 3-1. Azure IoT Hub
Step 5 : Verify Connection
With Azure CLI tool, verify ReButton sends messages to Azure IoT Hub.
5.1 : Install Azure CLI
Please refer to Azure CLI install instruction here
5.2 : Install IoT Extension
Install Azure IoT extension for Azure CLI with following command
$ az extension add --name azure-cli-iot-ext
5.3 : Login to Azure
After getting Azure CLI installed, login to Azure
$ az login
Web browser will launch to complete login process
5.4 : List Azure IoT Hub
Let’s list your IoT Hub(s)
$ az iot hub list
5.5 : Monitor Device to Cloud (D2C) message
To monitor messages from ReButton to IoT Hub, please run command.
NOTE: Replace [IoTHub Name] with your Azure IoT Hub instance from list command above.
$ az iot hub monitor-events -n [IoTHub Name] --properties anno sys --timeout 0
For more information about Azure CLI command, please see help,
$ az iot hub monitor-events --help